How to paint a Rainbow inspired mural indoors by Doodlemoo

We’ve been isolating due to the Corona virus for over a month now and looking at the blank wall in front of our super bold orange gallery wall got me thinking about turning this corner into a happy and inspiring space. I wanted to make something that would always remind me of this time and with all the rainbow imagery celebrating the NHS out there I decided to should be something fun, cheerful and would also work with the left over paint from previous projects!
 I began by taking a picture of the space and designing a wavy rainbow motif on my iPad Pro. I used the Procreate app to create a few designs to visualise it before working the final piece on the wall.
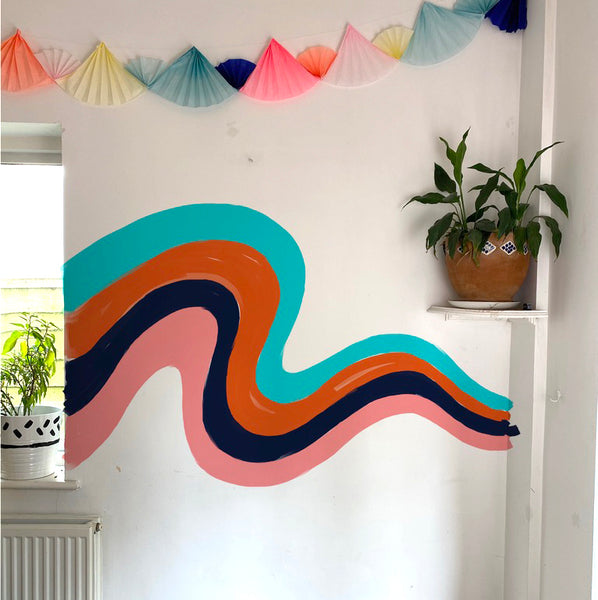
I wanted to use the rainbow motif and I tried to think about how to make it a bit different and unique. I found a lot of Inspiration on Pinterest (you can see our mural boards here). We’ve made a few wavy line murals before, on my office and lounge walls, so I wanted to continue that theme but a bit more dynamic and interesting.
We only had 4 colours left from previous projects, so I worked on a few combinations using these and decided upon the one that worked best.
Once I was happy with the design, the next hurdle was convincing my husband (he was actually going to paint it as he does the best cutting in!) who surprisingly said yes straight away and really loved the idea (Chris is a fine artist so also loves colour).
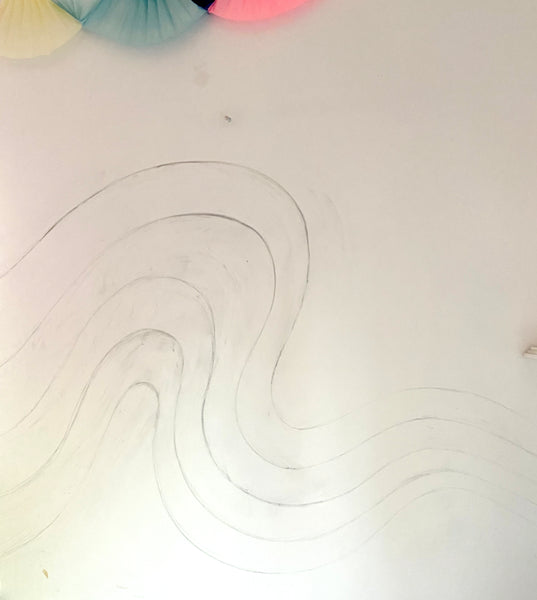
We started off drawing the design directly on the wall in pencil following the sketch I’d put together. There was a lot of drawing done to get it right which wasn’t a problem as we knew we could rub out the pencil marks and cover it with the paint afterwards. If you don’t have much experience painting or don’t have a steady hand you could use masking tape but its better to go freehand. The hardest part was getting the lines to flow perfectly and not kink anywhere.
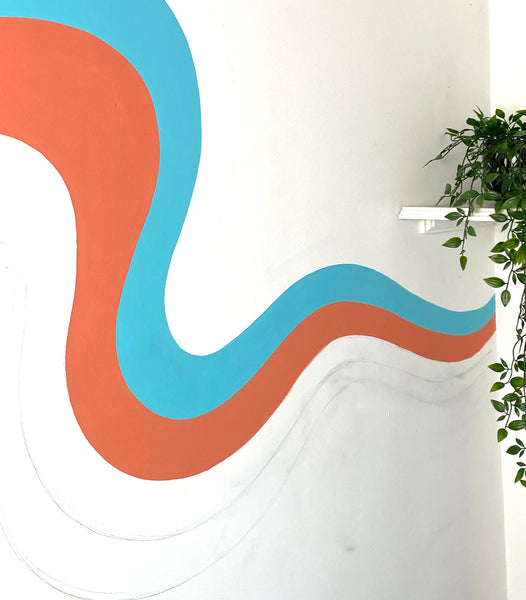
As a piece of advice for anyone wanting to try this make sure you define the lines or borders first and then paint the inside of each colour afterwards. Don’t worry too much about mistakes as you can fix them afterwards with a finer brush.
Always make sure you let the paint dry before you attempt to do the colour next to it, we did our mural over a few days. We used two coats of Valpar paint as it covers really well and the colours are so bright and strong.
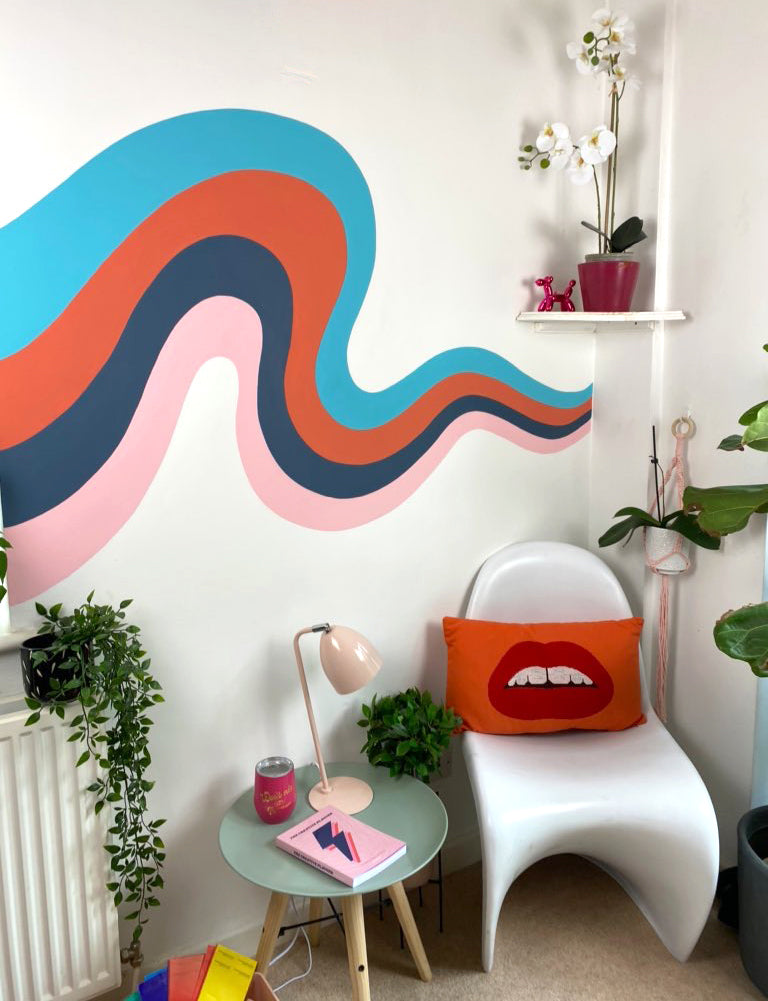
After we’d finished we retouched the rest of the wall with white paint so that it all looked fresh and crisp.
This rainbow mural space is now our favourite reading corner. Sometimes I move my mini desk there to change my working environment and be next to the garden door. I think its added so much character and fun to our home and it always makes me smile when I catch sight of it.
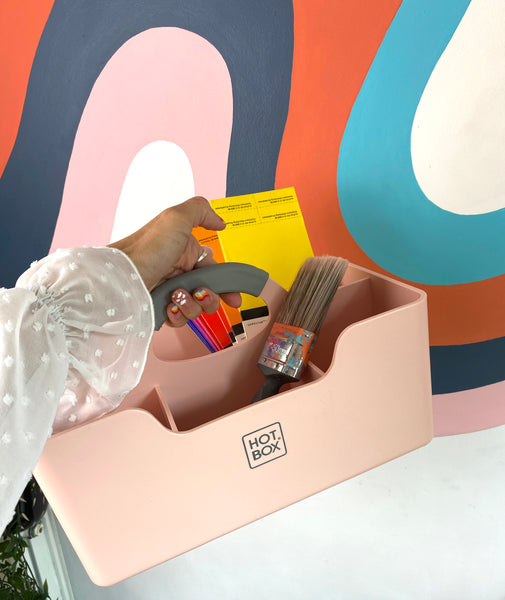
Now I can use my mural as a backdrop to photos for my Instagram and for my product photography, even for family fun photos. We hope to see you making your rainbow mural soon! Check Hotbox storage for the best and sexiest toolbox, comes in lots of different colours.
Let us know if you have any questions about doing a project like this and share with us if you are making your own rainbow inspired mural too.
You can find more interior inspiration on our Instagram and check out our wall art and wall mirrors for perfect additions to your home.
Don’t forget to comment below 😍
Emily


tilly barlow —
could you let me know the colours you used for the paint love it !
Anna —
Thank you for sharing your process, this is such a brilliant creative project. I’m looking for space on my wall to copy this now ;)